Lesson 150
Translation made by MARION

Supplies
Materials

Print-lesson
Selections---Put in the selections folder of your Psp files
Mieke has used the following filters
<I C Net Software> Filters in Unlimited 2.0
Filter---Simple
<I C Net Software> Filters in Unlimited 2.0---&<Bkg Kaleidoscope>
Alien Skin Eye Candy 5---Impact---Glass
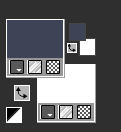
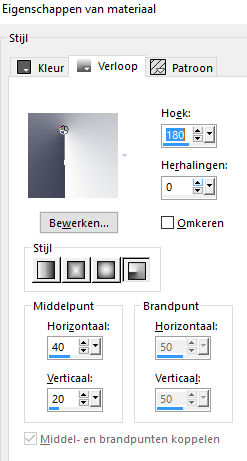
Colors
Foreground color #142551----Background color #ffffff
Gradient---Radial ---Angle180---Repeats 0---Horizontal 40---Vertical 20
 You can use my arrow to follow your work
1.
.Open a new transparent image
Width 900 x 600 Height pixels
Flood fill the layer with the gradient
2.
Flood fill the layer with the gradient
3.
Layers---Duplicate
4.
Image -Mirror -Mirror Horizontal (Image - Mirror in older versions of PSP)
5.
Layers-Properties---Reduce the opacity of this layer to
---50
6.
Layers---Merge---Merge Down
7.
Effects---Plugins---Simple---Centre Tile
8.
Effects---Plugins---<I C Net Software> Filters in Unlimited 2.0
&<Bkg Kaleidoscope>---Cake Mix ---255---169
9.
Selections –load/save selection –load selection from disc and select my selection: -- mb-150-1
Selecties---Promote Selection to Layer
10.
Seelctions---Modify---Select---Selection Borders
2---Outside---Anti-alias checked.

11.
Flood fill the selection with the light color (Match mode none)

Selections---Select none
12.
Effects---3D effects--Drop Shadow 0---0---50---35---Color black.
13.
Layers---Duplicate
14.
Image -Mirror -Mirror Horizontal (Image - Mirror in older versions of PSP)
15.
Layers---Merge---Merge Down
16.
Layers---Duplicate
Image---Resize 90%.
Resize all layers not checked
Repeat---Duplicate-Resize 90% twice
Your layer palette now has 4 Layers + Raster1.(as shown in the example below)
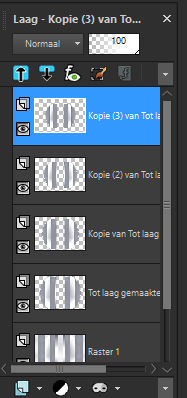
17.
Layers---Merge---Merge Down
Repeat 2x (Layers---Merge---Merge Down)
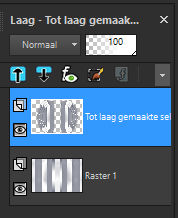
In your layers palette you now have 2 layers.
18.
Layers--Properties---Reduce the opacity of this layer to
---50
(adjust if you use your own colors)
19.
Activate --Raster 1 in the layer palette (bottom layer)
20.
Selections –load/save selection –load selection from disc and select my selection: -- mb-150-2
21.
Selecties---Promote Selection to Layer
22.
Selections---Select none
23.
Effects---Plugins---< Alien Skin Eye Candy 5---Impact---Glass
Basic----25.98---100.00---0---Inside Selection---Foreground color
0---0---50---75---75---30.00---20

24.
Layers---Duplicate
Effects---Image Effects---Offset---0---Min165---Transparent and Custom checked
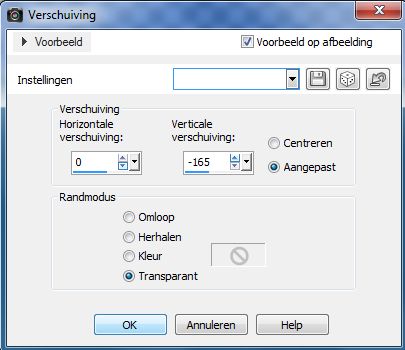
Edit---Repeat ---Offset 2 x.
25.
Layers---Merge---Merge Down
Edit---Repeat---Merge Down 2x
26.
Layers-Properties-Reduce the opacity of this layer to 45 %
(Adjust if you use other colors)
27.
Activate the top of the layer palette---(promoted selection)
Layers--New raster layer
28.
Selections –load/save selection –load selection from disc and select my selection:
mb-150-3---
Flood fill the selection with the dark foreground color
29.
Effects--Texture effects
Blinds---5---45---Color white--Light from left/top checked.

Selections---Select none
30.
Layers---Duplicate
31.
Image -Mirror -Mirror Horizontal (Image - Mirror in older versions of PSP)
32.
Layers---Merge---Merge Down
33.
Layers---Duplicate
34.
Image---Resize ---90%
Resize all layers not checked
Repeat points 33 and 34 one more time.
35.
In your layer palette make active the bottom of the 3 layers you just created
Raster-2

Layers-Properties-Change the blend mode of this layer to Multiply
(adjust when using your own colors)
36.
In your layers palette activate the layer above
(Copy of Raster 2)
Layers-Properties-Change the blend mode of this layer to Overlay
( adjust when using your own colors)
37.
Activate the top of the layer palette
(Copy (2)of Raster 2)
Layers-Properties-Change the blend mode of this layer to-Hard Light ---Opacity ---50%
( adjust when using your own colors)
38.
Activate the bottom ( Raster 1) in the layer palette
39.
Adjust---Blur---Gaussian Blur---Radius---50.
40.
Layers--New raster layer
41.
Flood fill the layer with the light background color
42.
Open---masker-mb-150-1---Click on the minus sign in the upper right corner.
Layers--New mask layer--From image-- select ---Mask-mb-150-1
Source Luminance checked

43.
Layers---Merge---Merge Group
44.
Layers-Properties-Reduce the opacity of this layer to 35%.
45.
Activate the top of the layer palette
Open the tube Deco-150-1--- Edit---Copy
Activate your work---Edit paste as new layer
Do not move
46.
Open the tube Deco-150-2--- Edit---Copy
Activate your work---Edit paste as new layer (color if necessary)
Do not move
47.
Open the tube Deco-150-3--- Edit---Copy
Activate your work---Edit paste as new layer
48.
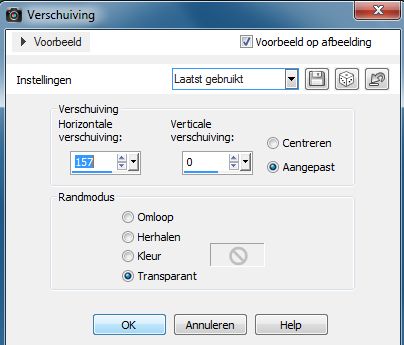
Effects---Image Effects
Offset---157---0---Transparent
49.
Layers---Duplicate
50.
Image -Mirror -Mirror Horizontal (Image - Mirror in older versions of PSP)
51.
Image--Add borders---1 pixel with your dark color
Image--Add borders---1 pixel with your light color
Image--Add borders---1 pixel with your dark color
Selectionss---Select All
Image--Add borders---50 pixels with your light color
52.
Effects---3D effects-- Drop Shadow 0---0---50---35. Color black.
Selections---Select none
53.
Open---Tube---Vase_jill_bycrealinejuin2012
Edit---Copy
Activate your work---Edit paste as new layer
54.
Image---Resize ---80%
Resize all layers not checked.
Effects---3D effects-- Drop Shadow 0---0---50---35. Color black.
Move this tube to the left---See finished image
55.
Open tube--- c03a1b8c
Edit---Copy
Activate your work---Edit paste as new layer
Image---Resize ---90%
Resize all layers not checked.
56.
Move this tube to the bottom right---See finished image.
57.
Effects---3D effects-- Drop Shadow 0---0---50---35. Color black.
58.
Image--Add borders---1 pixel with your dark color
59.
Layers--New raster layer--Place your watermark
Layers--Merge--Merge All (flatten)
File--Save as JPG
Enjoy this lesson.
Greetings Mieke
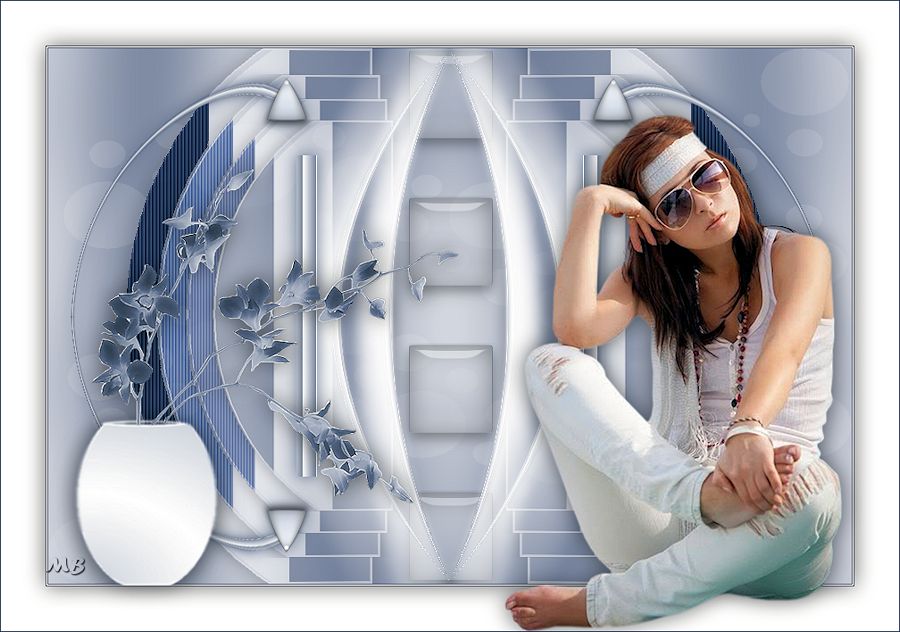
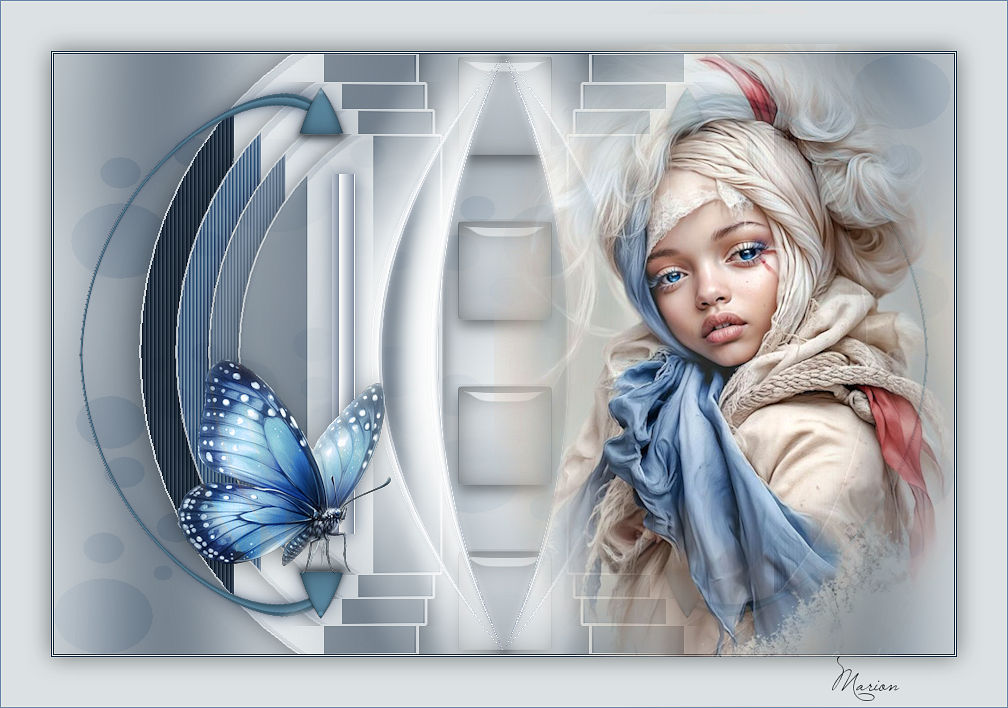
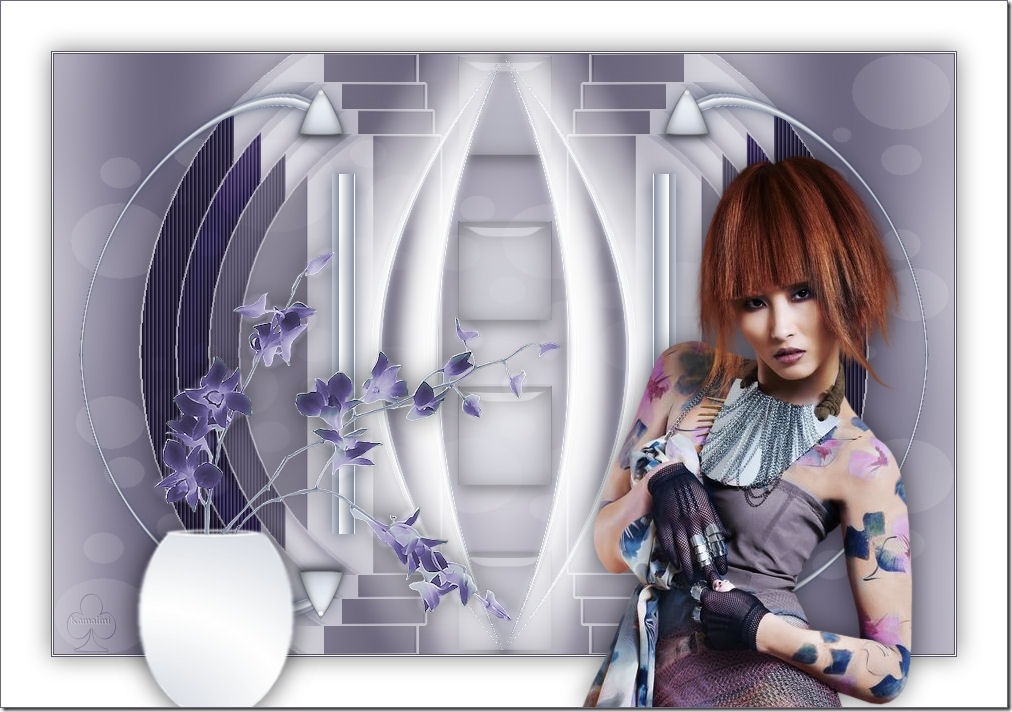
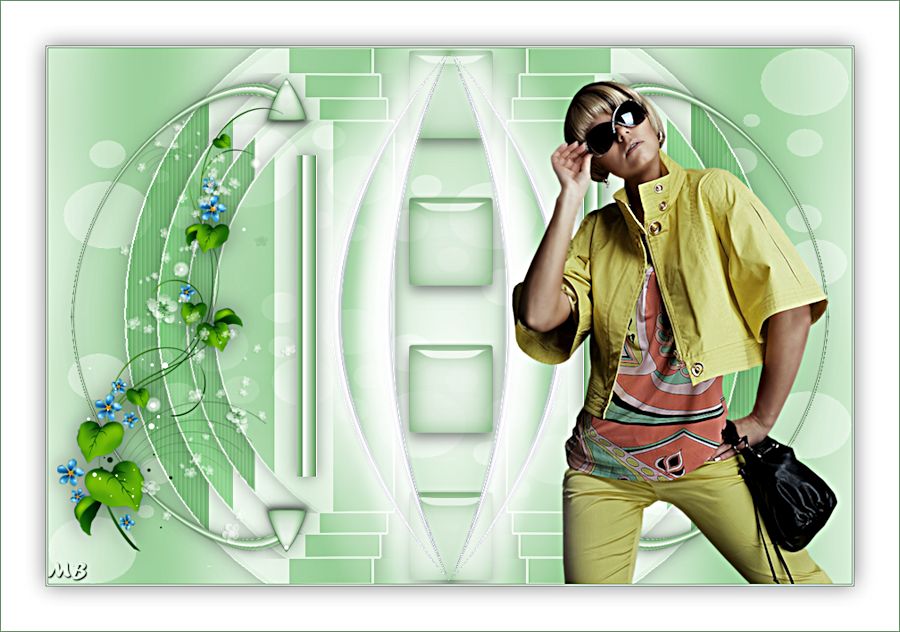
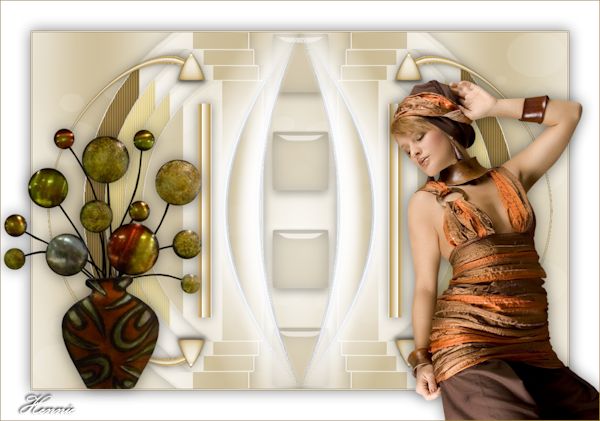
Samples created by Kamalini---Henny--Mieke

|